Mareks Sous Vide
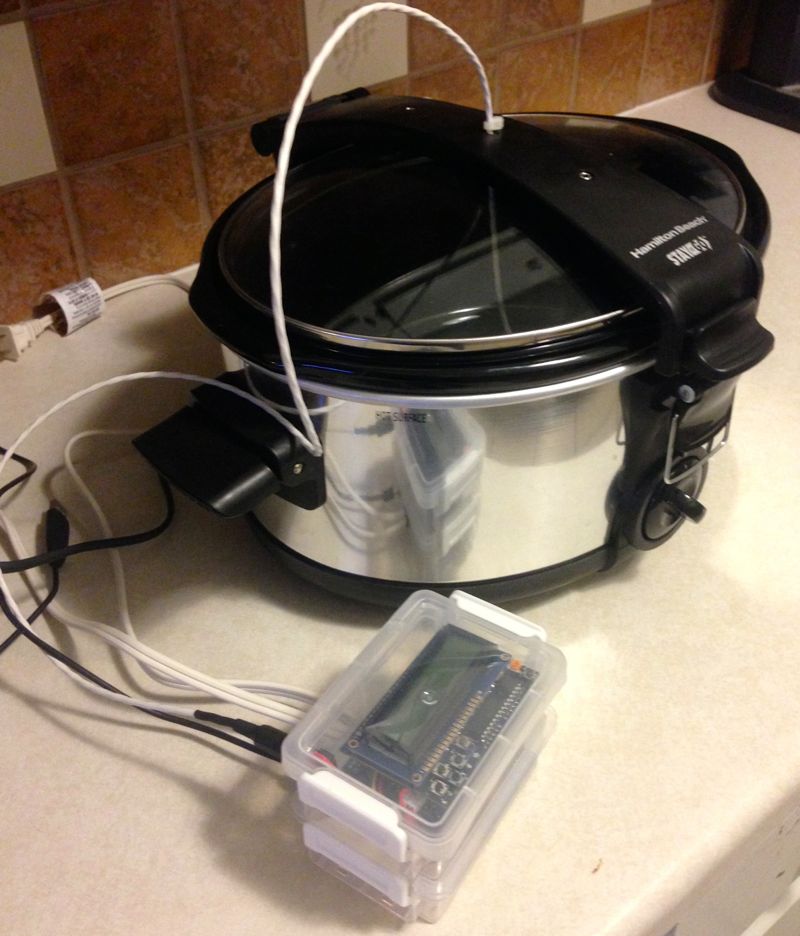
My dad asked for a Sous Vide machine for Christmas this year and being a good son I am I obliged him by making one. This turned out to be a bit more work that I was expecting, but in the end, it was fun and I both learned a great deal and leveled up my soldering skills.
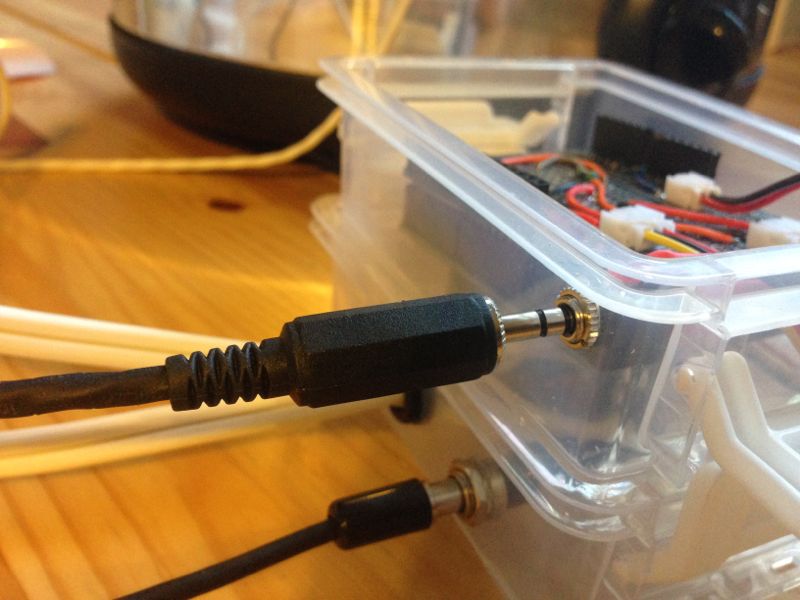
I built it following the very well written and detailed tutorial on Adafruit by Bill Earl. I wanted to make something more self contained, and I wanted to make it, easier to plug and unplug the various parts. Below I’ll outline the differences between my build and the Adafruit tutorial in case anyone wants to build something similar.
Self Contained
To achieve the first goal, I found a great little clear stacking box from the Container Store. It fits the Audio, with the LCD Shield and a protoshield in the top compartment, and the wiring for the relay in the bottom compartment. You rarely need to adjust the settings, so I felt it was reasonable to require that you take the top cover off. Ideally the buttons would be operable from outside the box, but this would have required much more detailed cutting and fitting than I felt I could do without a laser cutter.

Relay
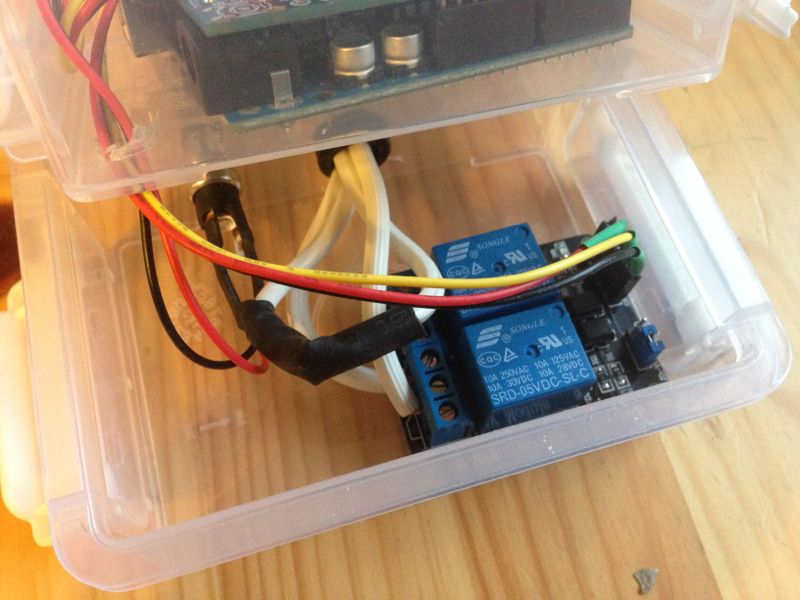
The Adafruit tutorial uses the cool Power Switch Tail, but to make it more self-contained I got the inexpensive and easy to work with SainSmart 2-Channel Relay Module. I got a little flustered at first because the relay in the tutorial was activated by a HIGH signal, and this module was activated by a LOW signal. This seems counter intuitive at first, but is apparently how things are done in the electronics world. It makes sense because most microcontrollers can “sink” more voltage than they can drive. The change in relay required changing the code from the tutorial to accommodate this reversal in logic. It was pretty simple, just find and replace HIGH to LOW.
Additional Code changes.
After I had everything wired up I was having lots of trouble getting the device to work correctly. It would never settle at the right temperature. I assumed that the problem was a bad temperature probe, and ordered a new one. Turns out the code the tutorial references needed some updating. Some searching on the Adafruit forums turned up some updated code. The change in the code waits to start the PID Algorithm until it’s near the desired temperature. Once I had updated to this new code everything worked more reliably.
You can find my modified code on Github.
Take away and next steps
I’m happy with the results, and I’m looking forward to making v2 for myself. I think I can quickly cook up the circuit and get everything together. The process introduced me to PID circuits, and I already have plans to combine a small PC fan and this basic circuit to make a temperature control for my BBQ. Much fun would build again.